Skyhatch Series · Single Shutter · Standard Size
PLANEA
Precision Modular Ceiling Access – IQUBX CTD26
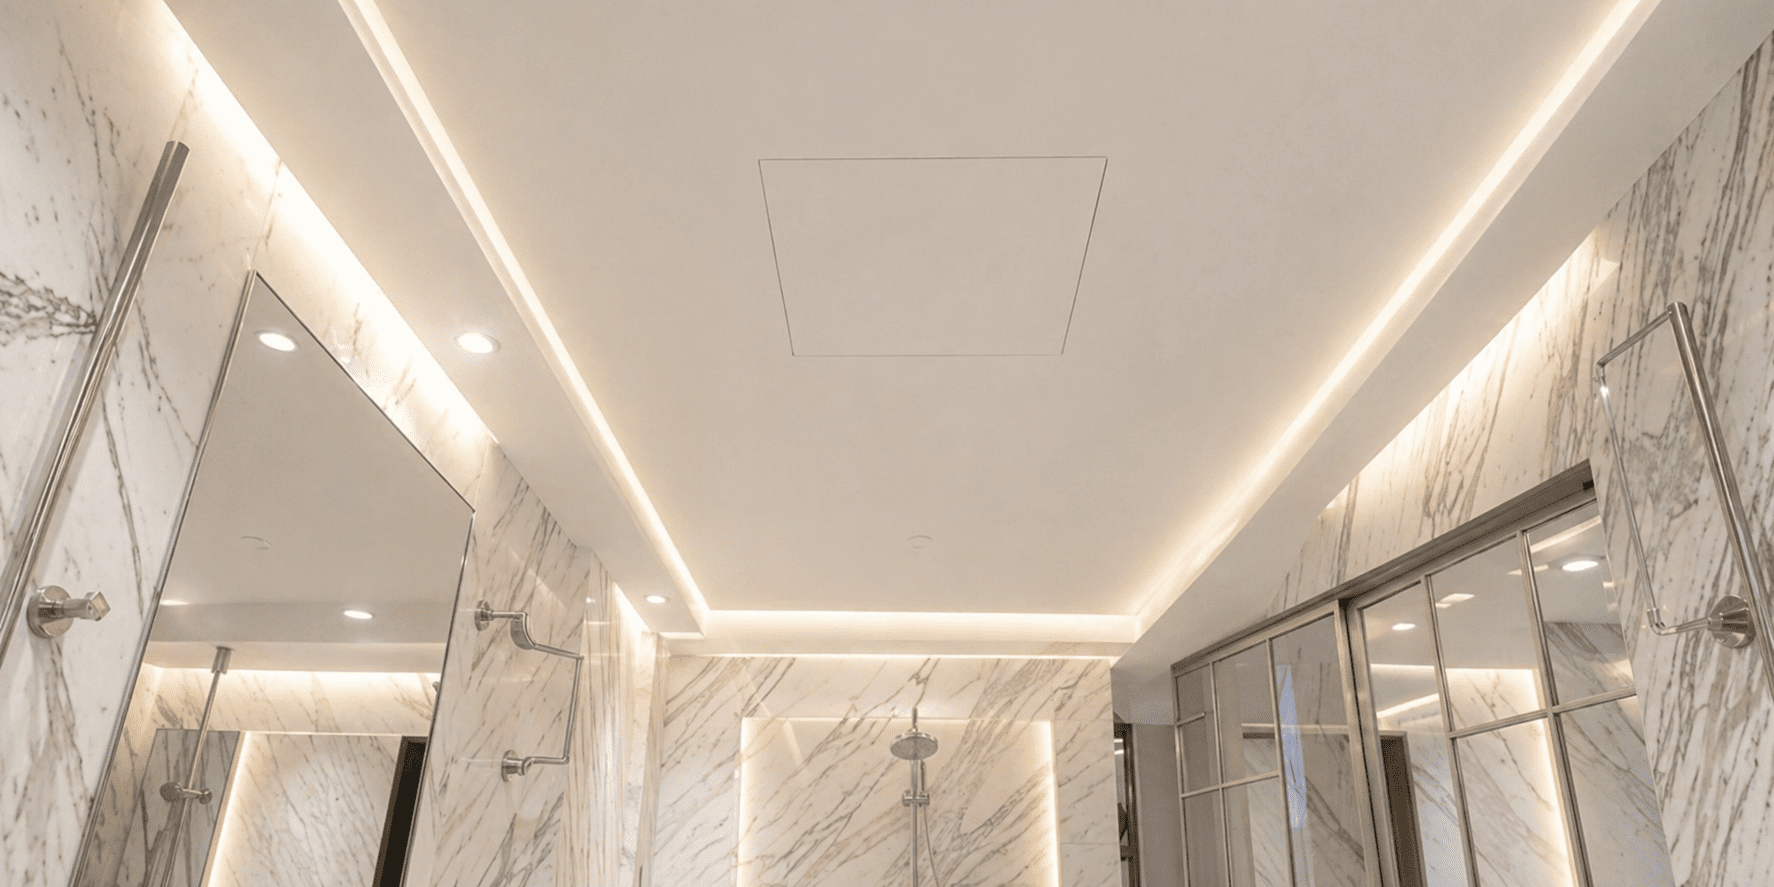
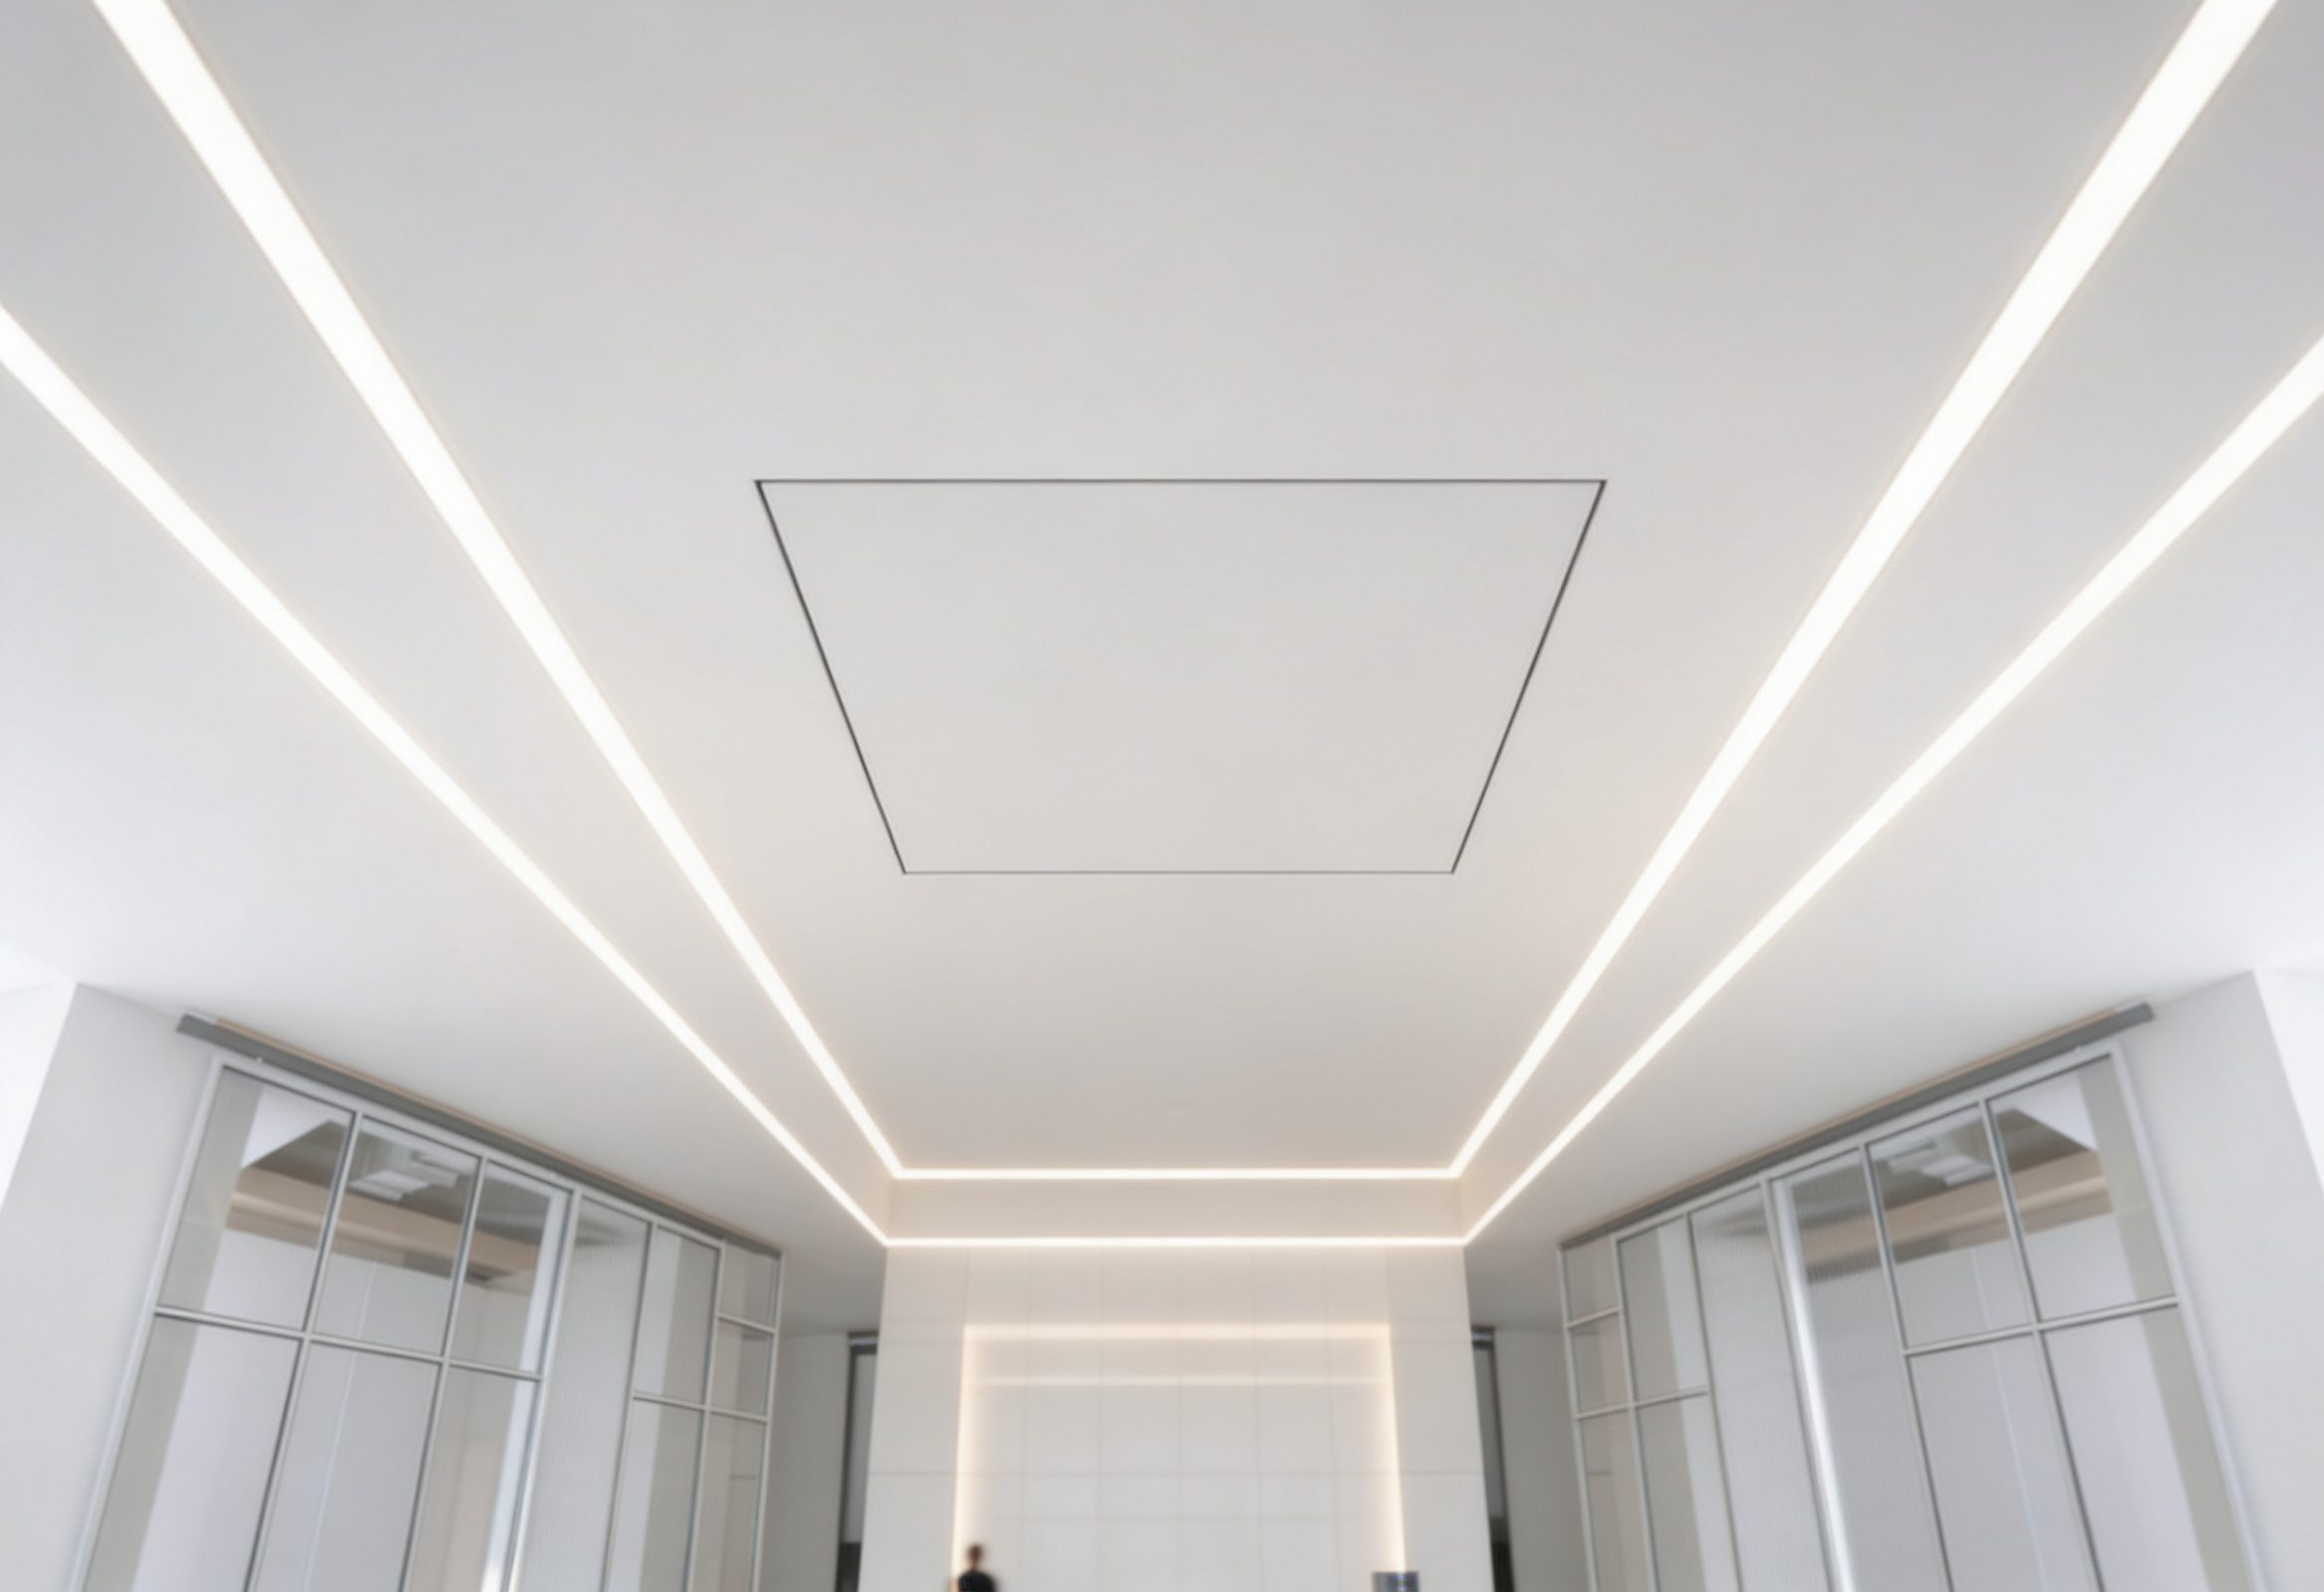
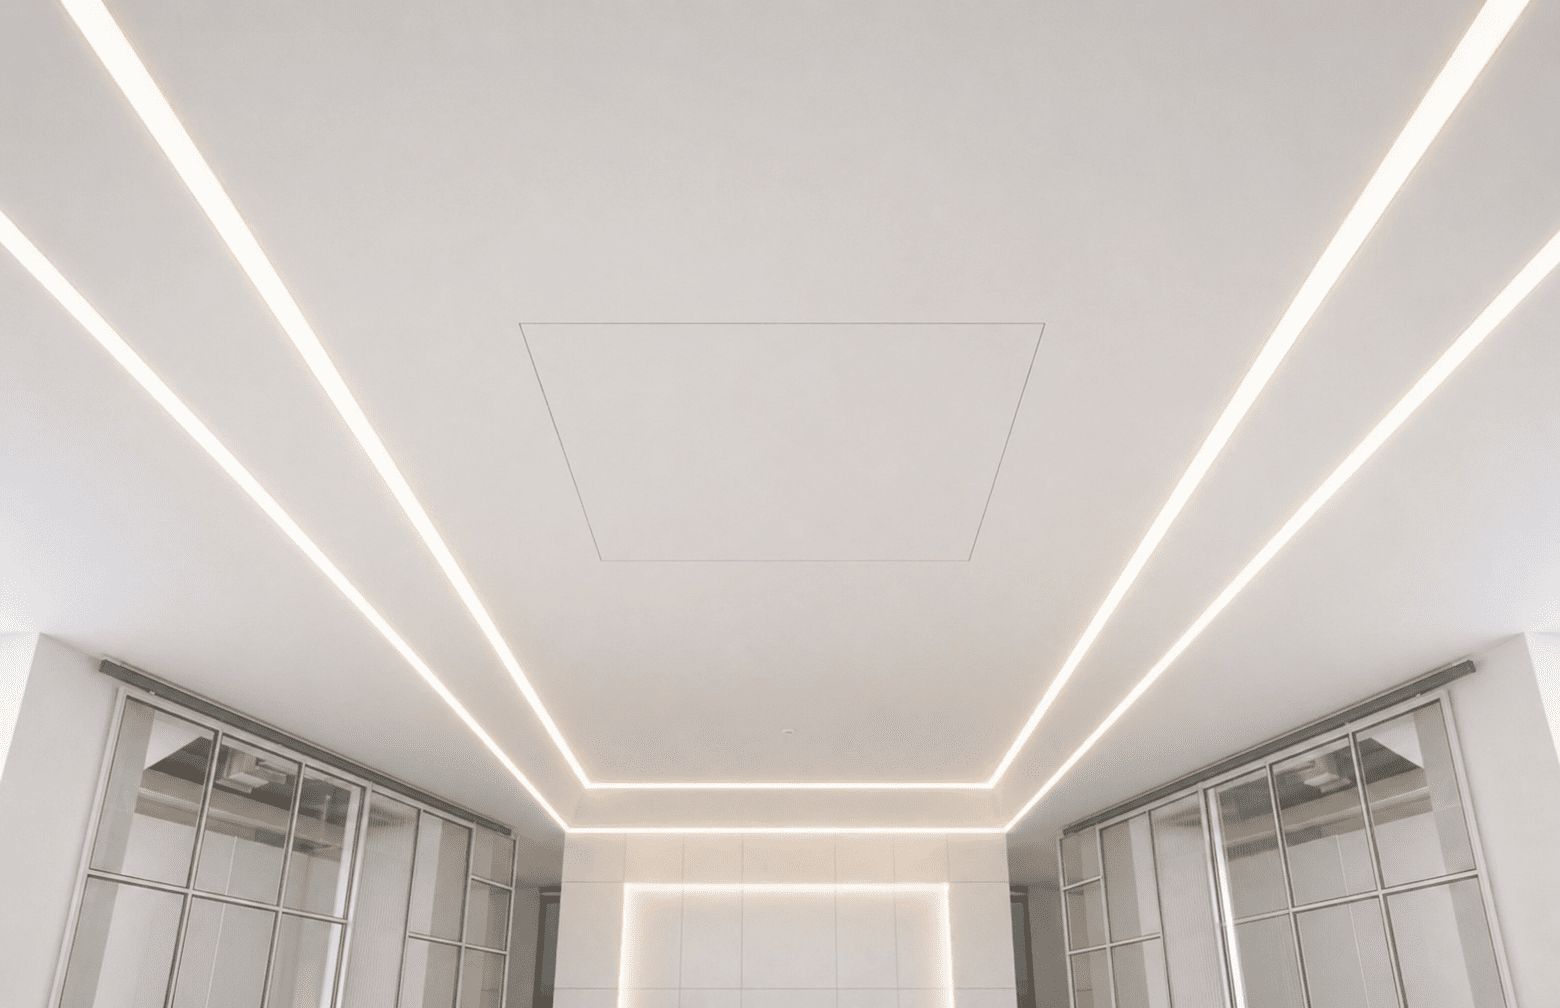
PLANEA is SKYHATCH’s precision-engineered standard size ceiling trap door system designed for clean architectural integration in modern interiors.
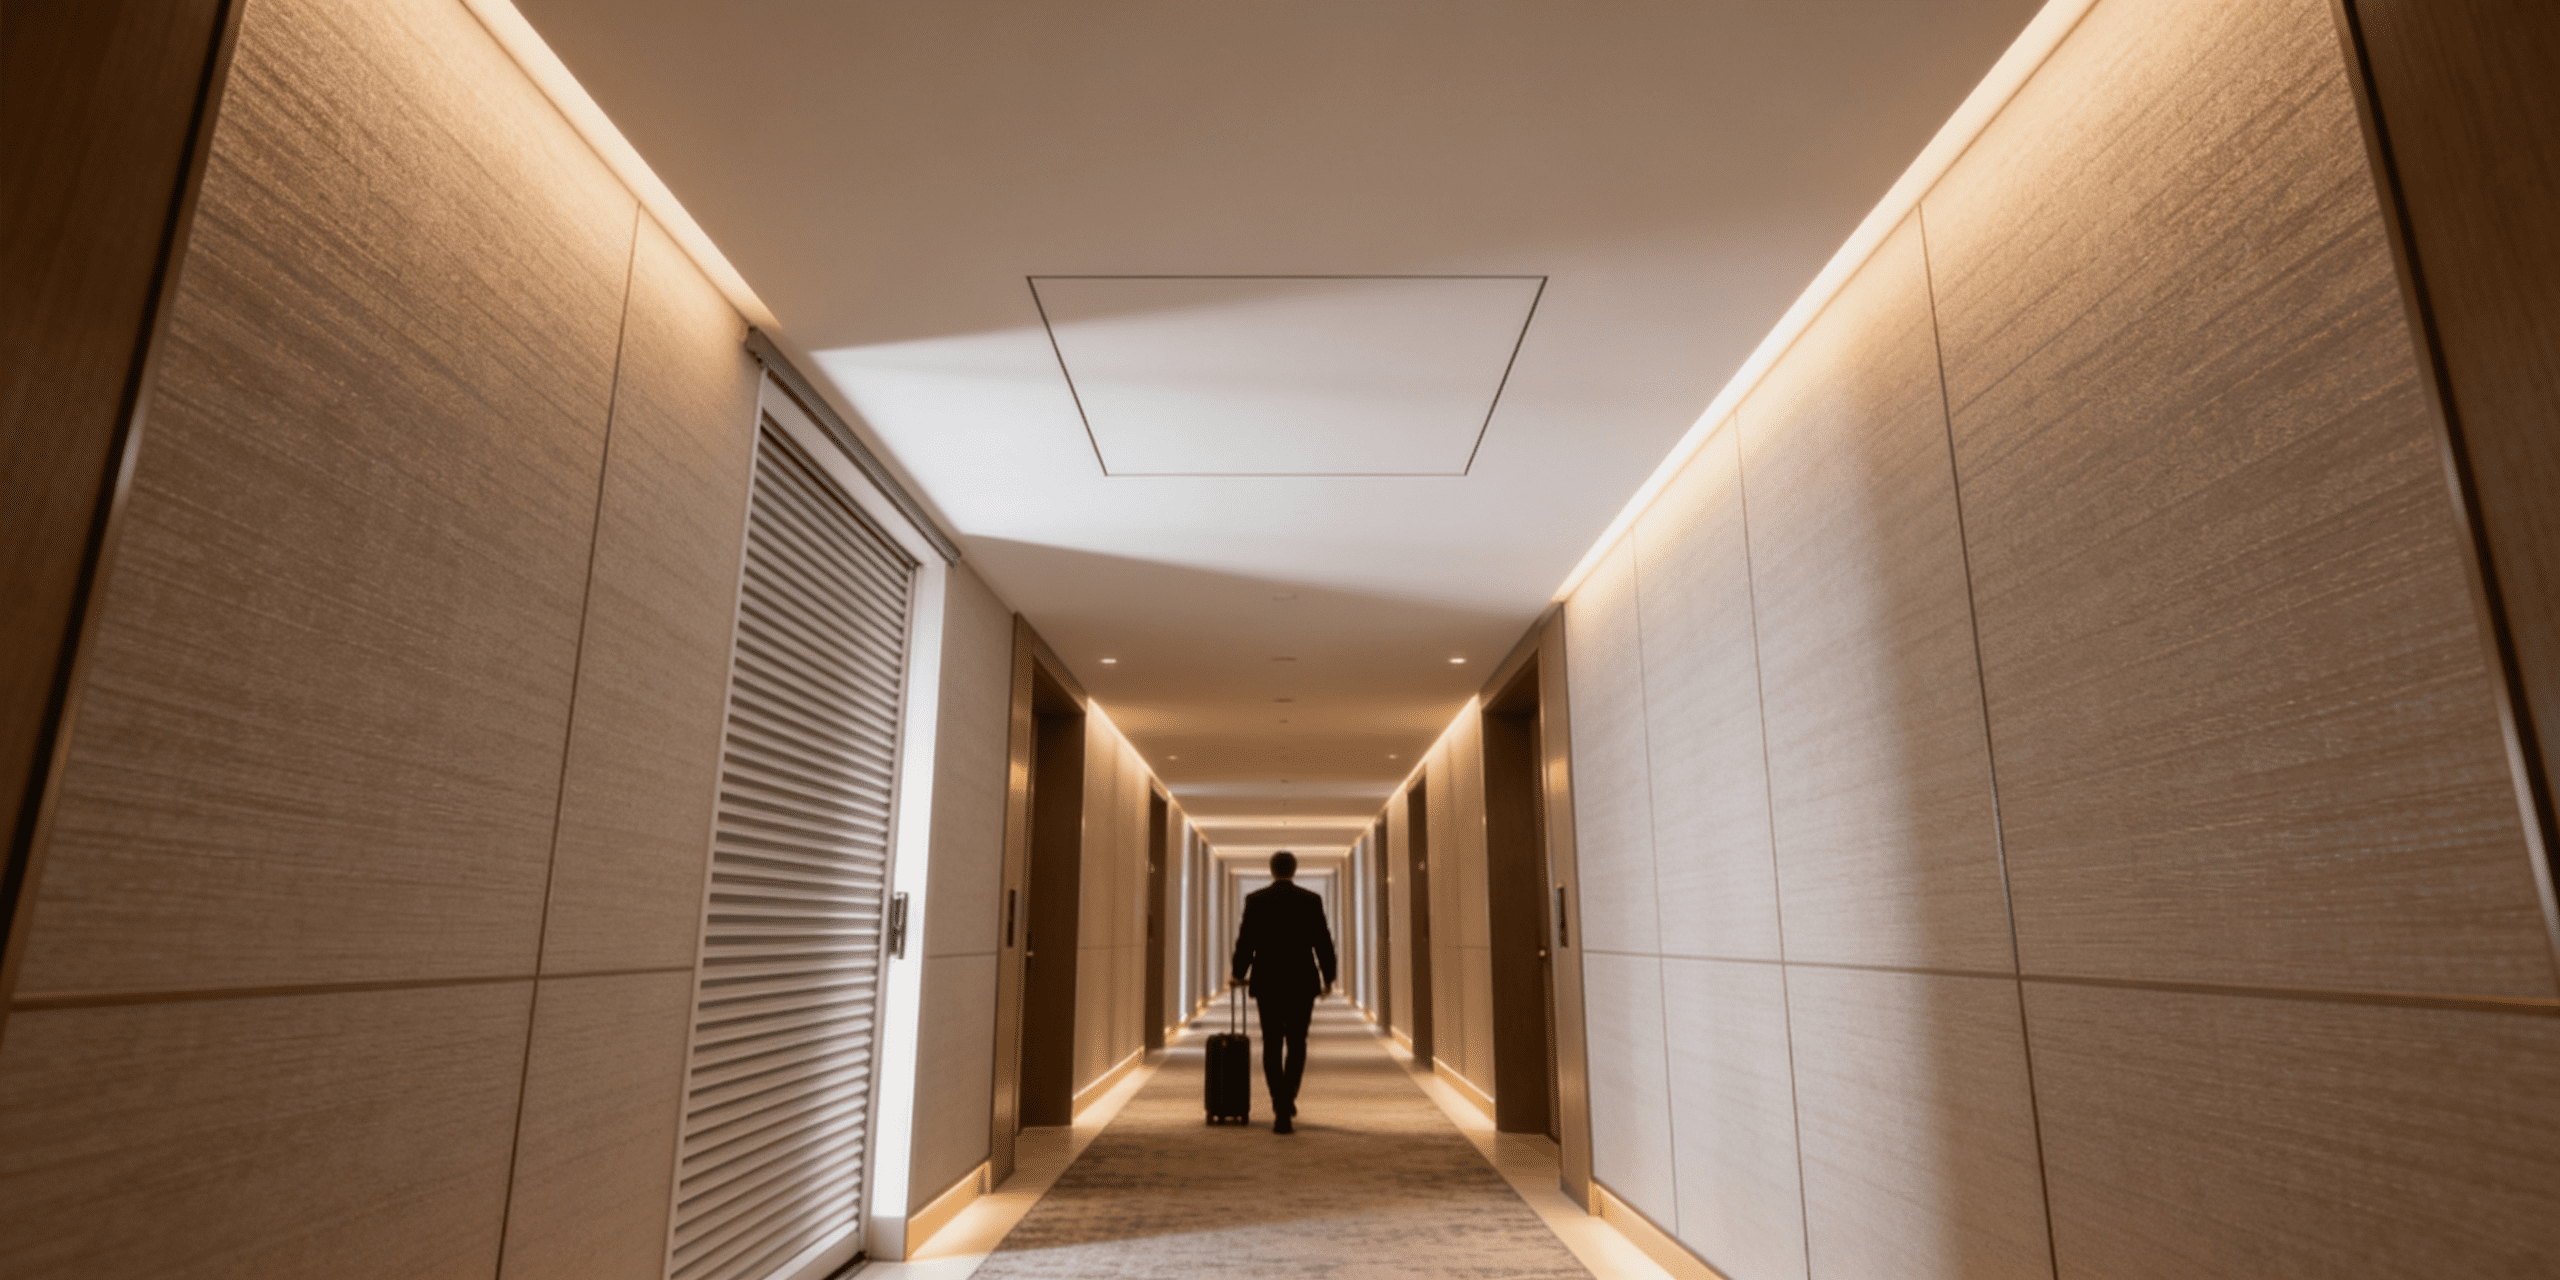
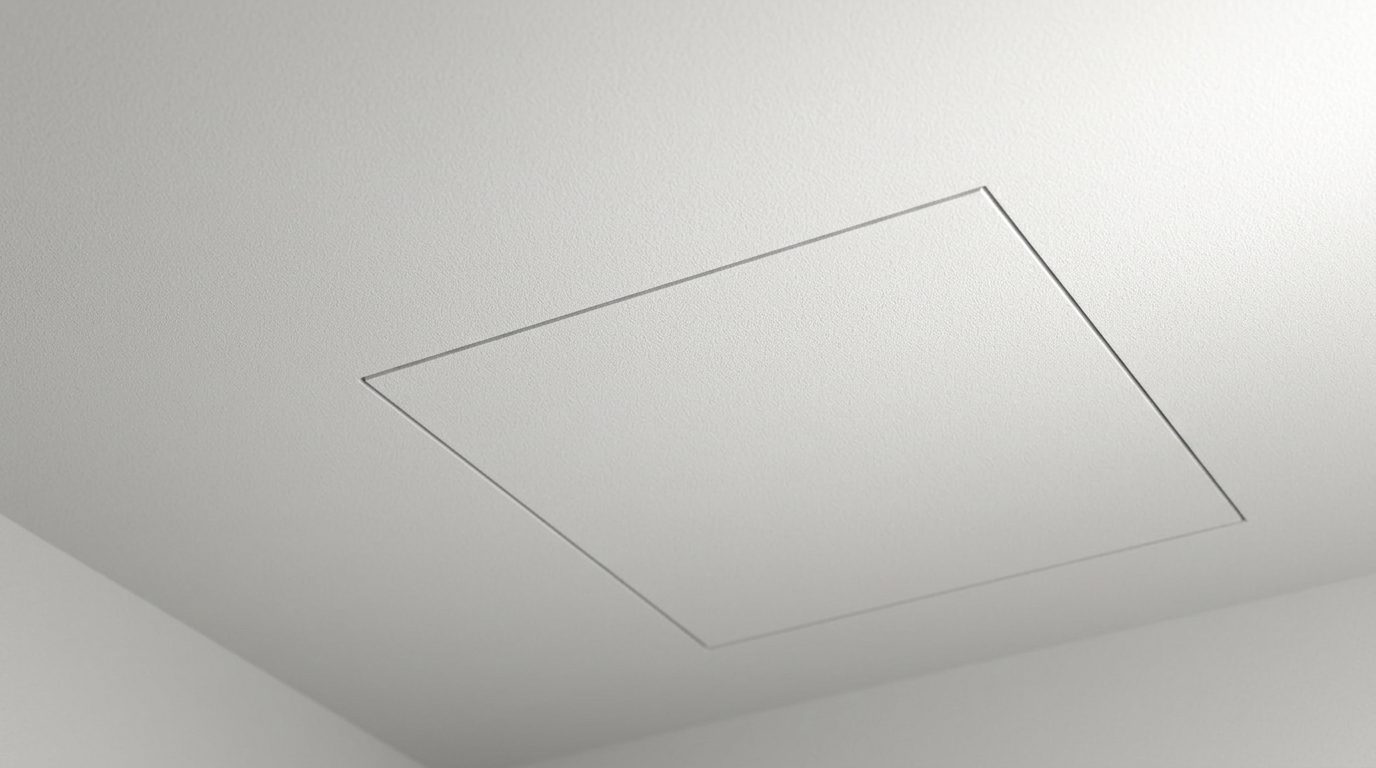
Unlike conventional fabricated wooden or low-grade aluminium trap doors, PLANEA delivers a minimal 2–2.5 mm shadow groove, precision modular detailing, and long-term durability with a premium flush ceiling appearance.
Designed for residential, commercial, hospitality, healthcare, retail, and institutional interiors, PLANEA integrates seamlessly into gypsum and designer false ceilings while enabling safe and repeatable maintenance access.
Specifications
Product Code
IQUBX CTD26 / Skyhatch Planea
Configuration
Single shutter
Frame Depth
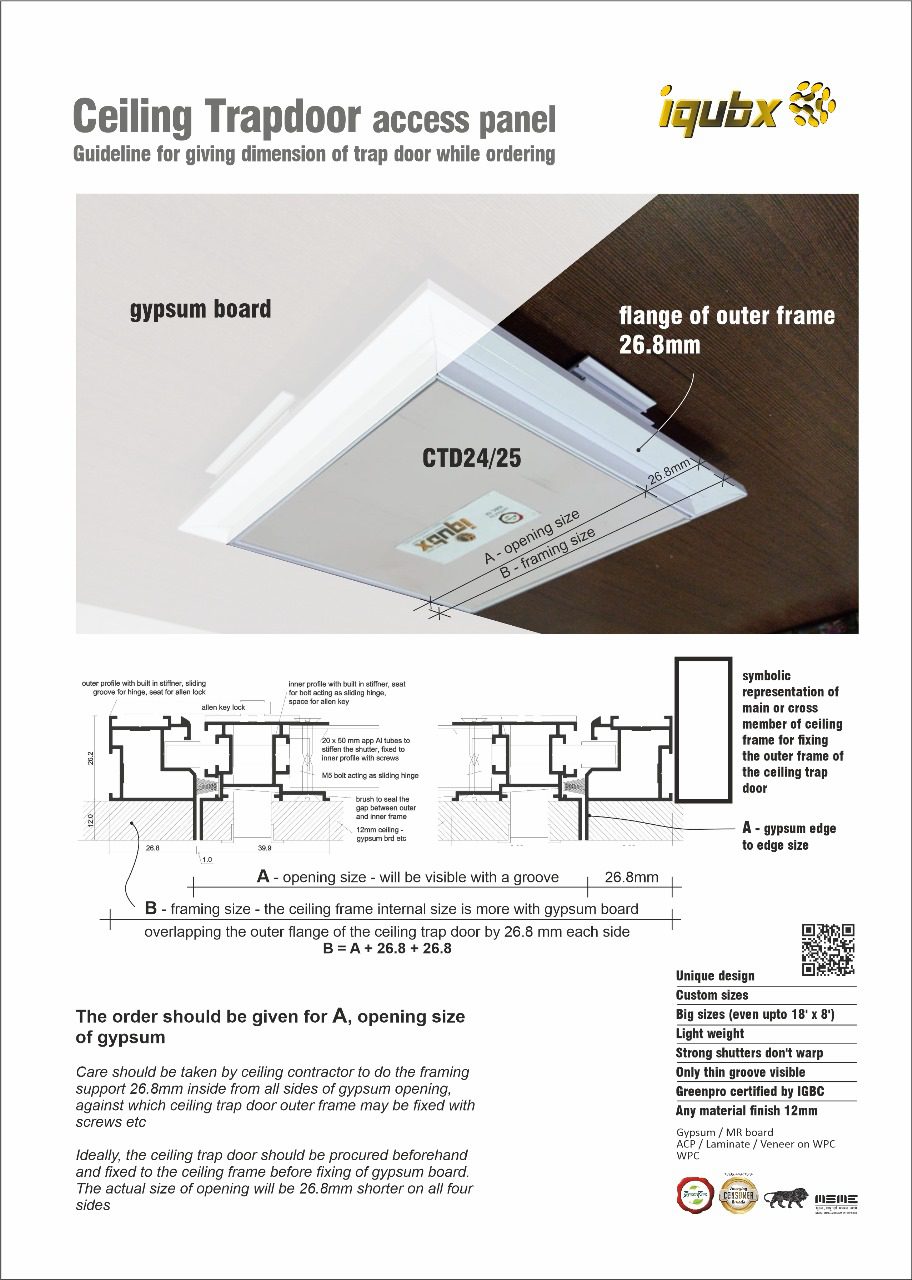
Outer frame flange 26.8mm — overlaps gypsum board edge
Groove Visibility
2–2.5mm shadow groove at shutter–frame joint
Infill Thickness
10–12mm ceiling material in shutter
Locking System
Push-lock standard · Optional Allen key lock
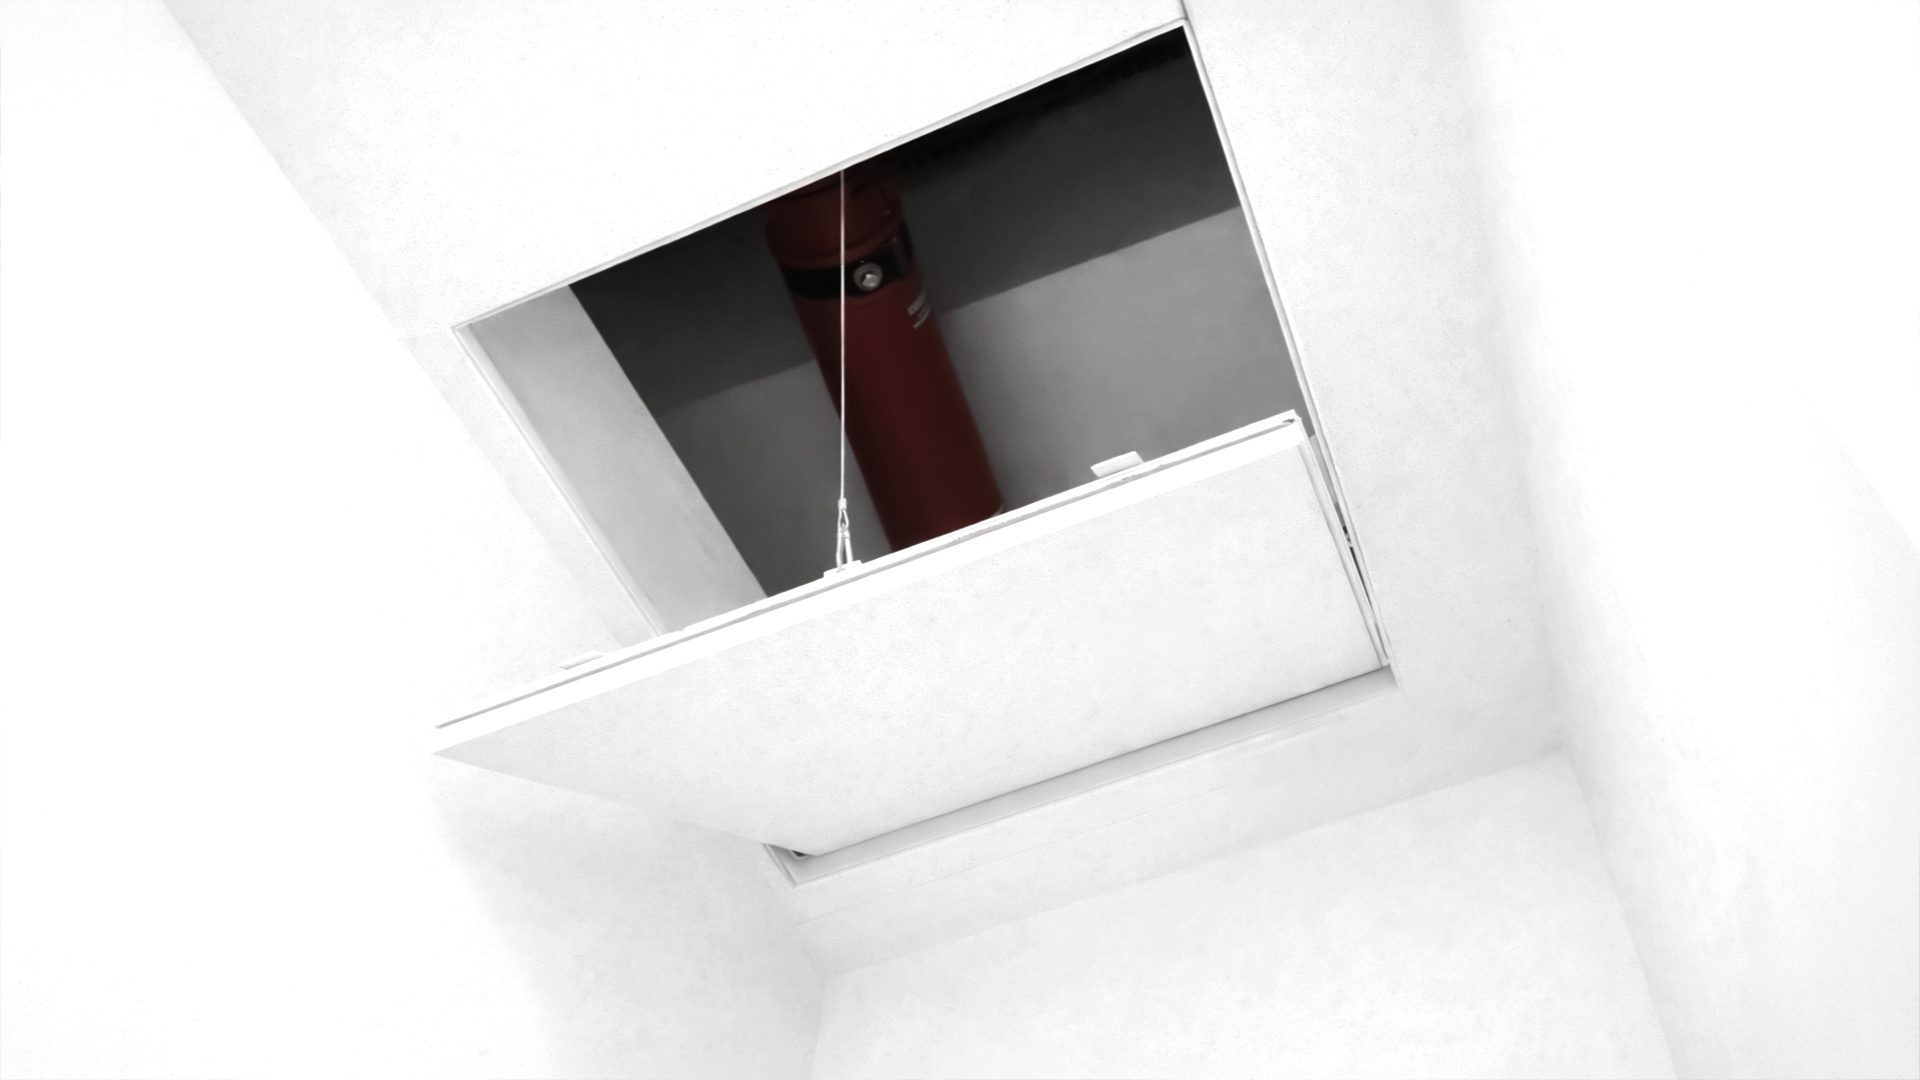
Safety
Proprietary sliding hinge — shutter cannot fall free
Materials & Compliance
Material
Recycled aluminium extrusion, heavy-weight section
Infill Compatibility
MR Gypsum · Pre-laminated board · ACP · Laminate · Veneer · Honeycomb panel
On-site Modification
Yes — no crimping allows minor size trimming on site
Certification
Greenpro Type 1 Ecolabel, IGBC
Recyclability
100% aluminium — fully recyclable; can be reused / relocated
Replaces
Wooden trap doors · inferior aluminium products
Product Lifetime
Long-life system — relocatable and reusable
Available Sizes · Opening Dimension A
300×300
MM
450×450
MM
600×600
MM
600×1200
MM
Frame Size (B-size) = Opening Size (A-size) + 26.8 mm overlap on all four sides. Always specify the visible opening dimension (A-size) while ordering. Custom sizes are also available on request.
Guide
How to
Specify
Planea
Planea is specified by its visible opening — the A-size. The outer frame automatically accounts for the 26.8mm flange overlap on all four sides to produce the B-size framing cutout. For best results, the Skyhatch frame should be fixed to the ceiling subframe before the final layer of gypsum board is installed, ensuring a perfectly flush, integrated result.
📐 Ordering Guide — Dimensions
01
Order by A-size — the opening dimension (what will be visible in the gypsum ceiling, edge-to-edge).
02
Frame B-size (framing cutout in ceiling subframe) = A-size + 26.8mm on all four sides. The outer flange overlaps and hides the gypsum board edge neatly.
03
Fix the Skyhatch frame to the ceiling subframe before the final layer of gypsum board is installed for best results.
04
Minor on-site trimming is possible — no crimping in the profile allows adjustments without specialist tools.
PLANEA
Explore Planea Series Finishes
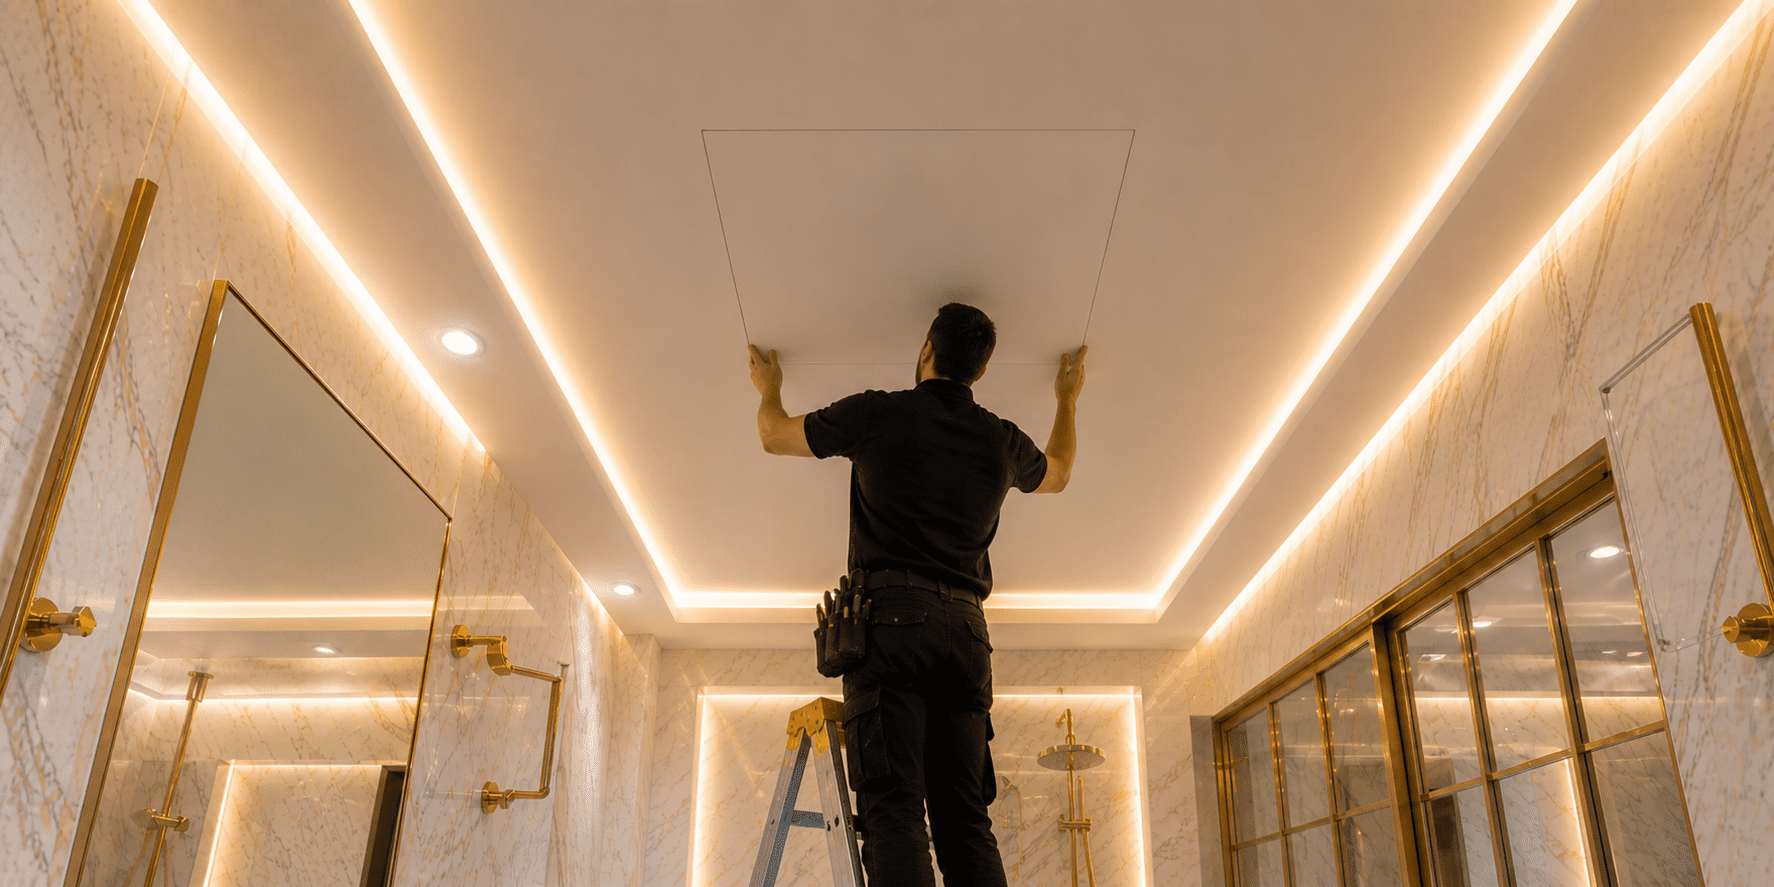
Installation Guide
Designed for straight forward installation.
Determine opening size (A-size)
Measure the required opening in the false ceiling. This is your A-size — the dimension to order. Add 26.8mm on all four sides for the framing cutout.
Fix to ceiling subframe
The outer frame is fixed to the main ceiling support from 2+ main sections. For Zenith+ above 1200mm, MS threaded rods or flat butterfly hangers from slab provide additional support.
Board the ceiling (preferred method)
Ideally, fix the Skyhatch frame before the final gypsum board layer. The outer flange overlaps and conceals the gypsum board edge with a clean 2–2.5mm groove.
Apply ceiling finish to shutter
Cut your ceiling finish material (gypsum, ACP, laminate, etc.) to fit inside the shutter frame. Paste or fix to base board. The shutter matches the ceiling exactly.
Fit shutter and test operation
Slide the shutter into the frame. Push-lock (Planea) or Allen key lock (Zenith+). Test opening and closing. The proprietary hinge mechanism holds the shutter firmly — it cannot come loose.
Fit shutter and test operation
Slide the shutter into the frame. Push-lock (Planea) or Allen key lock (Zenith+). Test opening and closing. The proprietary hinge mechanism holds the shutter firmly — it cannot come loose.